
Enolsoft PDF Compress User Guide


Enolsoft PDF Compressor is a professional PDF size reduction tool for Mac and Windows that helps you compress PDF files individually or in batches while maintaining document quality. This guide will help you get started and make the most of the app.
Download & Install
For Mac Version
1. You can download the installation package of Enolsoft PDF Compressor for Mac from the below link.
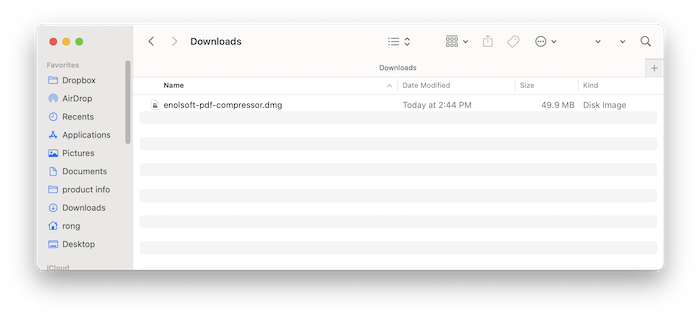
2. Install Enolsoft PDF Compressor with the downloaded package.
Double-click the .dmg file.
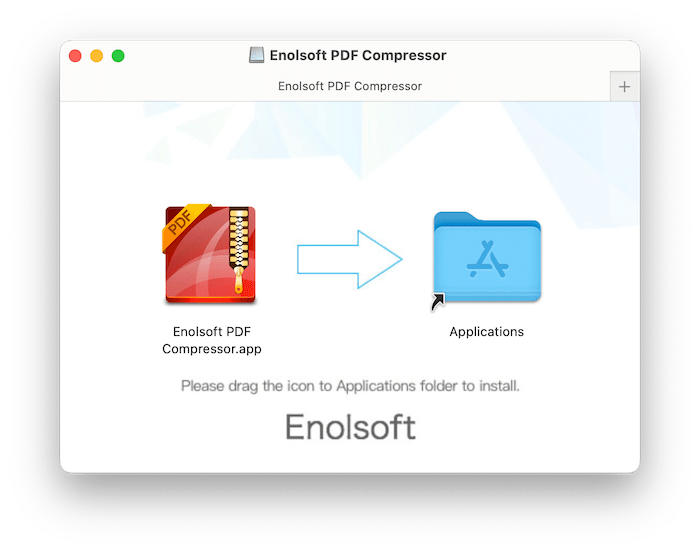
Drag the Enolsoft PDF Compressor icon to Applications folder.
For Windows Version
1. You can download the installation package of Enolsoft PDF Compressor for Windows from the below link.
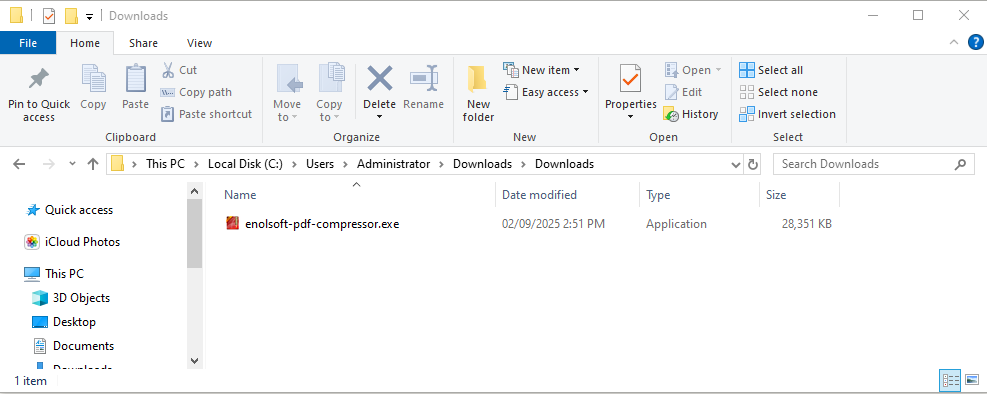
2. Install Enolsoft PDF Compressor with the downloaded package.
Double-click the .exe file to run it.
Select a language and then select a folder to install the program

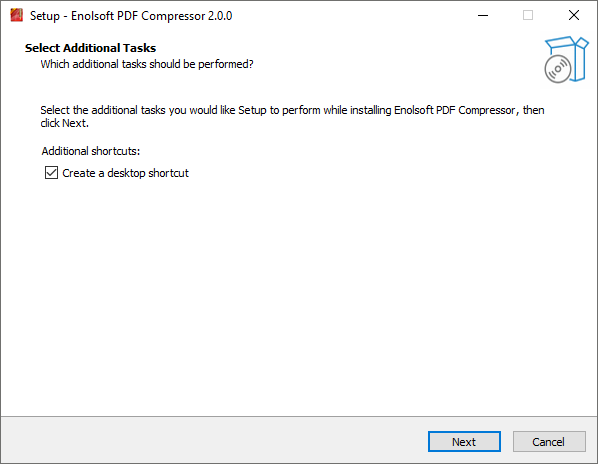
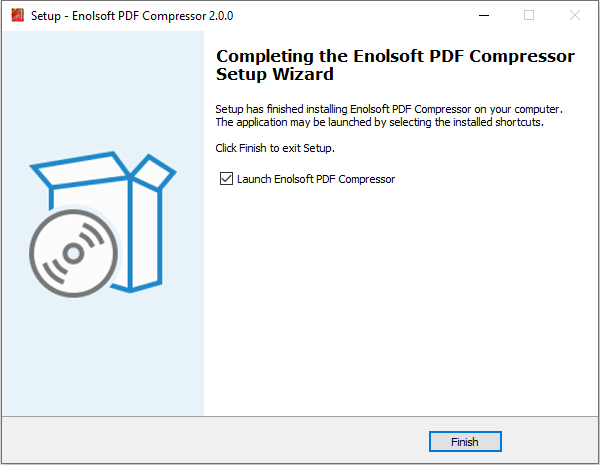
Click Next > Next > Install to continue the installation process, when the below window appears, it means that the program has been installed successfully.
Activation
After installing the program, you need to activate the program if you want to use the full version features.
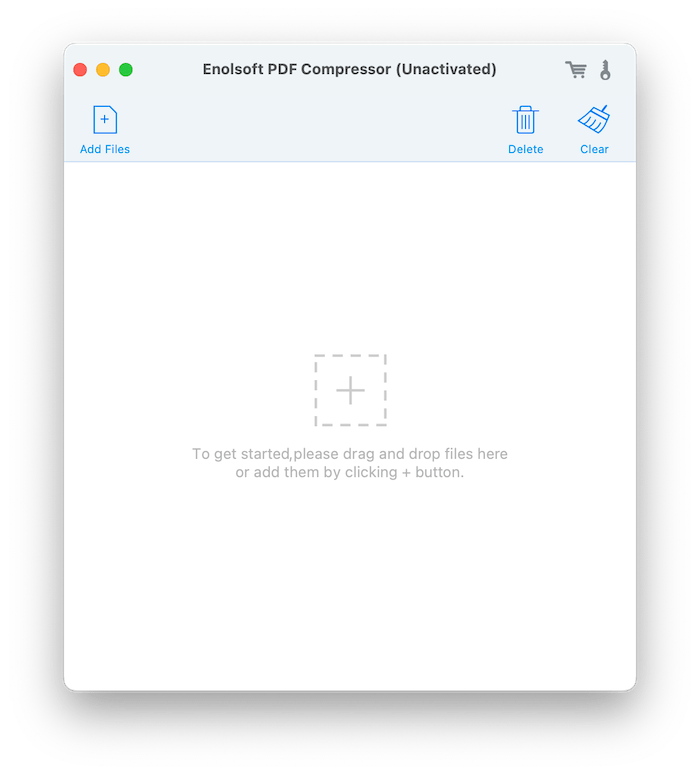
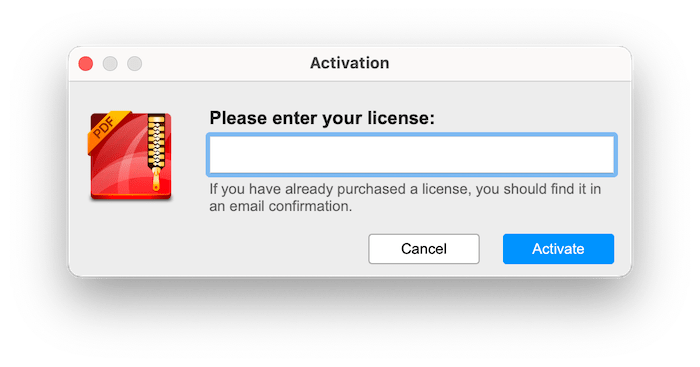
1. Go to Lauchpad or Applications folder, double click Enolsoft PDF Compressor to run the program, and then click the key icon at the top right corner.
2. Copy-n-paste the license code into the popped-up window, click Activate.
Add Files for Compression
Enolsoft PDF Compressor supports drag-and-drop functionality and batch importing, allowing you to quickly add one or multiple PDF documents for compression.
1. Directly drag and drop your PDF files into the program.
2. Click  and choose the target PDF files from Finder.
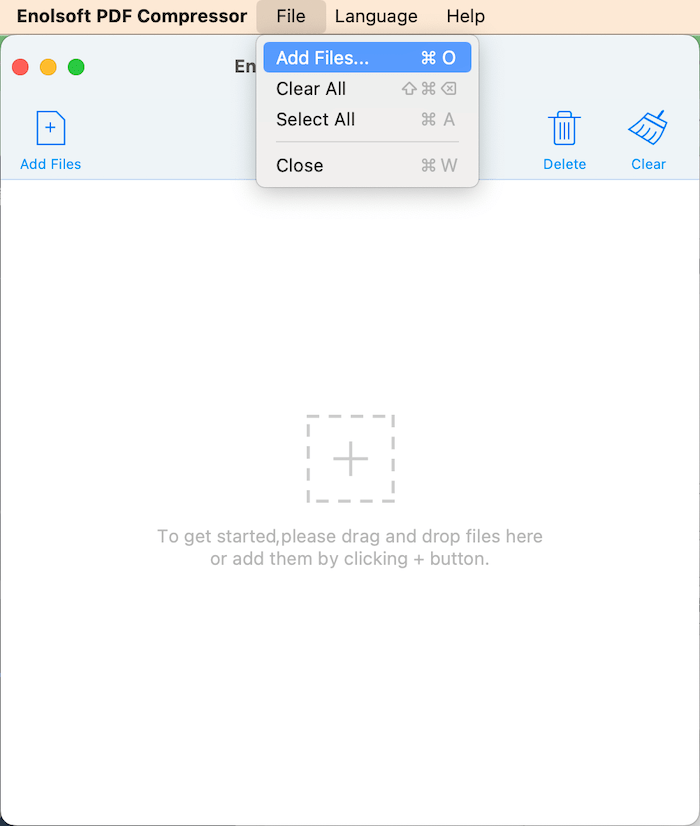
3. Click File > Add Files on the top menu bar.
To remove the added PDF files, you can highlight the target PDF files and click  or directly click
 ![]() to empty the added files.
to empty the added files.
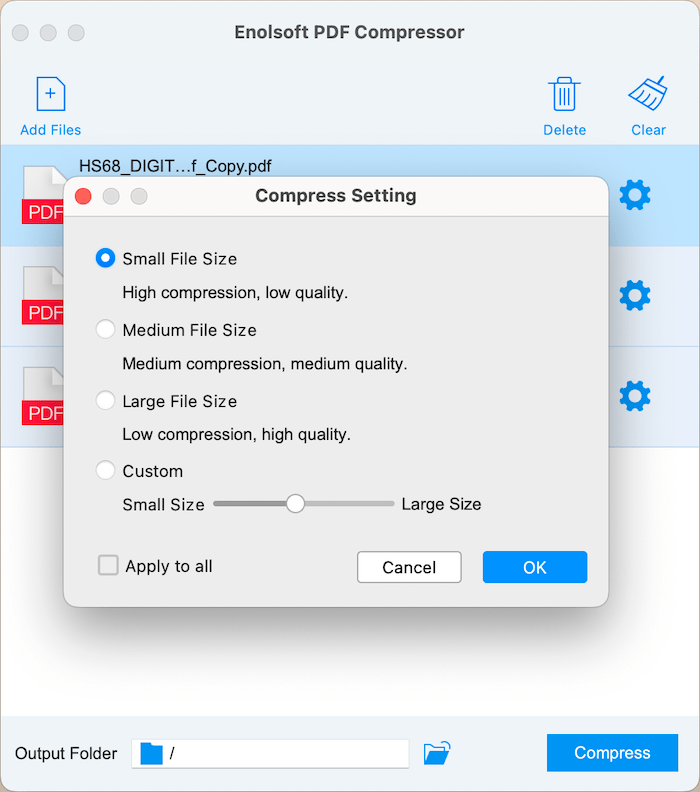
Choose a PDF Compression Level
Click  after the added PDF file, it will bring you to the compress settings window, you can choose Small size, Medium size, Large size or Custom there.
If you want to compress all the imported PDF files with the same compression mode, check the option  .
.
Compress Files in Batches
Click Output Folder  and choose a location to save the compress PDF files, click
  to start compressing your PDF files in batches.
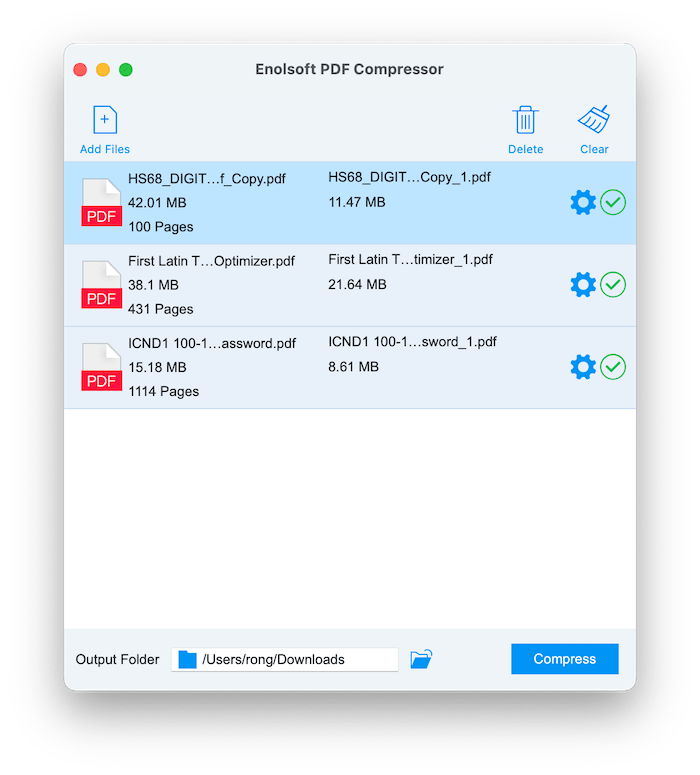
After the compression completes, you can directly click  or go to the selected output folder in Finder/Explorer to locate the compressed files.
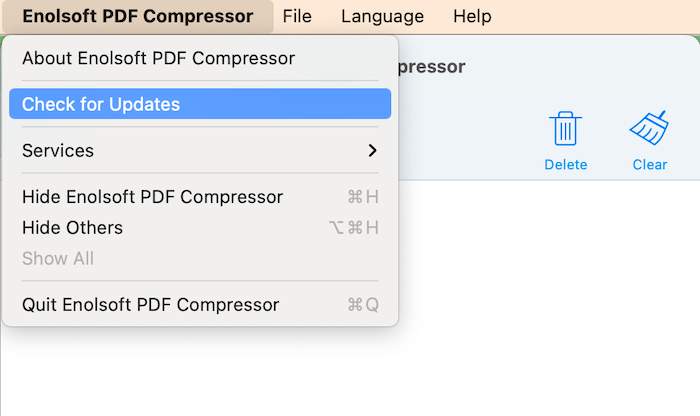
Part 4 Update Enolsoft PDF Compressor
We always suggest users to use the latest version of the program.
When you launch Enolsoft PDF Compressor, Enolsoft will auto check for updates.
Also, you can click Enolsoft PDF Compressor > Check for Updates… on the left top menu bar to manually update it.

Bryan is the Chief Writer at Enolsoft for 15 years. He doesn’t just document software, he is more like a power user that bridges the gap between complex file management systems and the real people who use them, showing users the easiest way to turn digital chaos into streamlined efficiency.
Comments (0)
Leave a Reply